Module Options
The Module Options Maintenance holds general system options for the Timesheet Module.
Understanding the Module Options
-
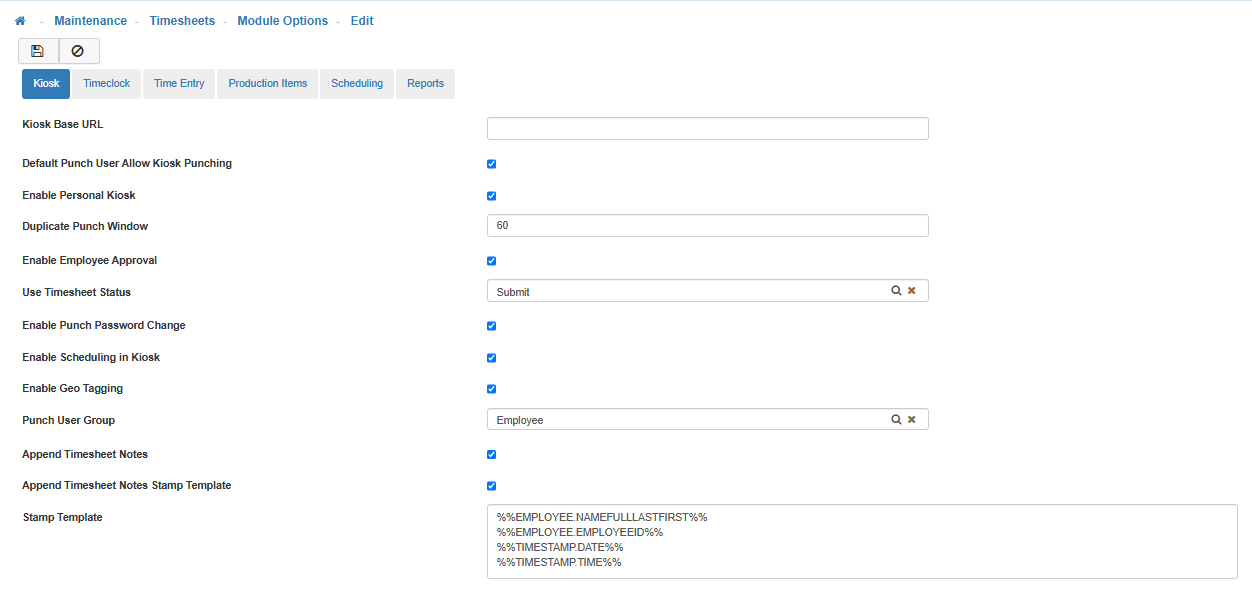
Kiosk Tab
-
Kiosk Base URL
Your systems Kiosk URL that is used to create each specific URL for all your LightWork Kiosks. -
Default Punch User Allow Kiosk Punching
When a Punch User is created the system will default to Allow Punching.
Note: This can be overridden by going to the Punch User Maintenance and turning off Allow Punching for the specific Punch User. -
Enable Personal Kiosk
A Personal Kiosk is created to allow Users to Punch In at their personal computer, instead of a communal location. -
Duplicate Punch Window
This field (measured in seconds), adjusts the time allowed between punches for a punch user punching in/out from a Kiosk. If the punch user creates a second punch within the threshold assigned, it will register as a duplicate punch and disallow the second punch. The punch user will have to wait until the Duplicate Punch Window time frame has passed before creating a second in/out punch. -
Enable Employee Approval
Allows Employees to approve their Timesheets from the Kiosk. When an Employee Approves their Timesheet, it will keep a record in the Approval log.
Note: When an Employee Approves their Timesheet it will adjust their Status on the first Approval. The system does keep a log of every time the Employee hits the Approval button, so that if any changes have been made to the Timesheet since the first approval, the Employee can Verify it and the system logs the acknowledgment. -
Use Timesheet Status
The Timesheet Status set here is the status the Timesheet will move to when the Employee hits the 'Approval' button. -
Enable Punch Password Change
Allows the Punch User to change the Password through the Kiosk. -
Enable Scheduling in Kiosk
Shows the Employees Schedule within the Kiosk. -
Enable Geo Tagging
Geo Tagging in LightWork is the process of adding geographical identification metadata to Punches captured within the system from Personal and Public Kiosks.
When enabled, Punches coming from GPS-capable devices where location permissions have been granted to LightWork will have accompanying LAT/LONG coordinates in the line item drop-down within a Timesheet. LightWork physical Timeclocks do not currently support GPS coordinates. This data usually consists of Latitude and Longitude coordinates, though depending on the device used this can also include Altitude, Accuracy Data, and Time Stamps.
If no coordinates are visible, there is a record of denied location access permissions that can be accessed when reviewing back-end data. Some other reasons why this could be occurring;-
User denies access when prompted for allowing LightWork to know your location as they Punch.
-
The permission was previously denied at one point and the browser is retaining that ‘Deny’ and isn’t re-asking each time (browser-stored Location Permission setting).
-
The User is punching using incognito mode in their browser.
-
The User is on a device that doesn’t support LAT/LONG coordinates.
Note: In regards to GPS information for Punches, once turned on, this functionality wouldn’t be available for Punches ‘going back’. In other words, Geo Tagging will only apply to Punches made after it has been activated.
-
-
Punch User Group
This group works along side the Kiosk-related securables in Group Security to determine what a Punch User in your LightWork systems has access to and can interact with. Unlike a LightWork User (controlled from the User Maintenance), Punch Users do not have a Group Security role assigned at an individual level. One Group is designated as the 'Punch User Group' in the Timesheet Module Options and this group acts as the controller for what all Kiosk users have access to in your system. -
Append Timesheet Notes
When enabled, Append Timesheet Notes allows punch users to add/append notes to their timesheet when accessed through the Kiosk. -
Append Timesheet Notes Stamp Template
When enabled, this feature creates a customizable stamp that appears on timesheet notes added/appended by punch users.
Note: The Stamp Template, and Customization Points will appear when this feature is enabled. -
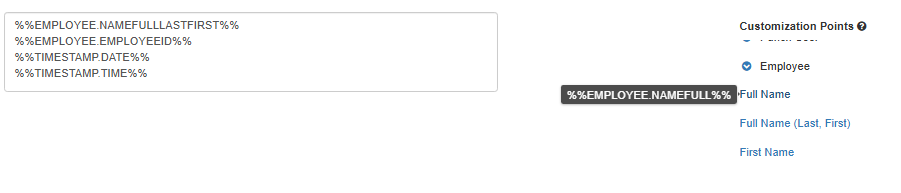
Stamp Template & Customization Points
-
To add a Customization Point to the Stamp Template, click on the Customization Point you would like to add, select 'Ctrl + V' to copy it, then use 'Ctrl + P' to paste it in the Stamp Template box.
-
-
Timeclock Tab
-
Duplicate Punch Window
This field (measured in seconds), adjusts the time allowed between punches for a punch user punching in/out from a Timeclock. If the punch user creates a second punch within the threshold assigned, it will register as a duplicate punch and disallow the second punch. The punch user will have to wait until the Duplicate Punch Window time frame has passed before creating a second in/out punch. -
Time Entry Tab
-
Auto Increment Date For New Lines
When enabled, each time a new line is added to a Timesheet the date display will automatically increment to the date after the previous time line entry. For example, the first time line entry is manually entered with a date of 11/01/2024. When you add another time line entry, the date will automatically display 11/02/2024. When this feature is disabled, the dates added will all default to the same date as the first time line entry (in our example 11/01/2024). All date fields can still be manually modified when 'Auto Increment Date For New Lines' is enabled or disabled. -
Calculation Rounding Precision
The Calculation Rounding Precision value defines how many decimal points the system uses when roounding and showing numerical amounts. While the default is zero decimal places, administrative users can change it to anything between 0-6 points of precision. -
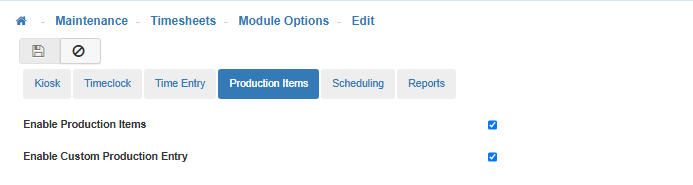
Production Items Tab
Enables Production Items and/or Custom Production Entry. -
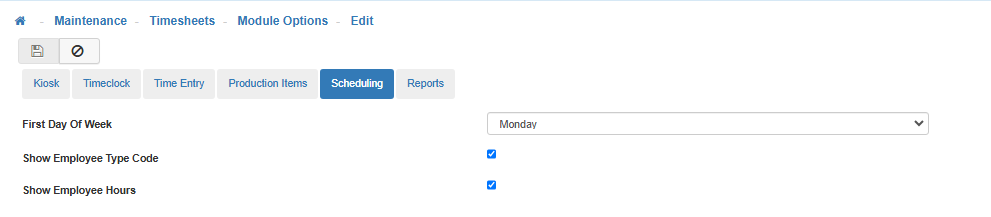
Scheduling Tab
-
First Day of Week
Determines the start of the week for the Schedule module. -
Show Employee Type Code
-
Show Employee Hours
-
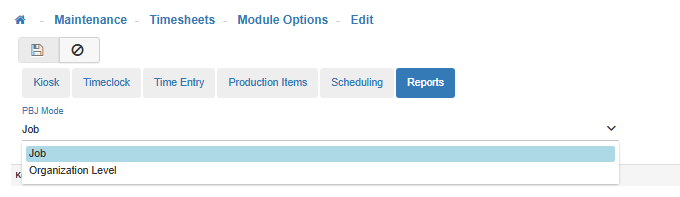
Reports Tab
-
PBJ Mode
-
Job
-
Organization Level
If this is chosen you will need to select an Organization Level.
-
-
Save
Once you are satisfied with your selections, click on 'Save'.

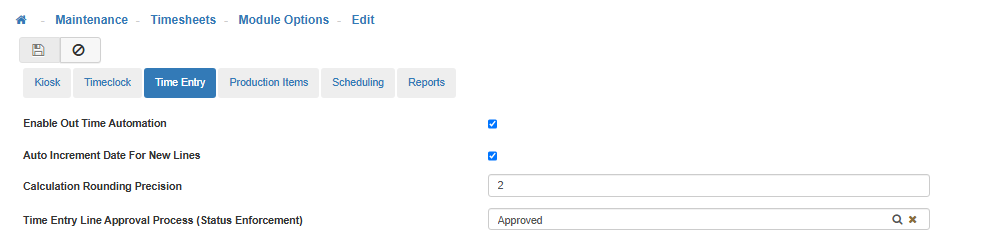
This is the first step to setting up the Time Entry Line Approval Process. Here you force the Time Entry Line Approval at a selected level.
Key Concept: Every Employee is linked to Organization Level(s). The Time Entry Line Approval Process uses these Organization Levels to establish which Manager(s) will need to Approve an Employee’s time. (I.e. if an Employee logged a Time Entry with an Organization Level different than their default Organization Level, then the Manager assigned to that different Organization Level must Approve the Time Entry before the Employee’s Primary Manager can Approve the whole Timesheet).
Note: In order for the Time Entry Line Approval to work you must use the Organization Level Filter when setting up Employee Users.